Google Play Store has been the leading app store for quite some time now. The popularity of the Google Play Store is undeniable because of the fact that most apps are offered on this app store. Its competitor, the iOS store has significantly fewer apps available for users to download.
In terms of applications for all categories, Google Play Store has been the first choice for users because of the market share difference between Android and iOS. Most users play games, download communication apps, business apps, brand apps, entertainment apps, and many more through this app store.
According to recent statistics, almost 2.8 million apps are available on Google Play Store – most are free apps while others are paid. Applications with free-to-use models allow advertisements inside the app or contain some in-app purchases to generate revenue. Whereas, paid apps have one-time fees that unlocks the app and all of its features.
Another interesting fact about Google Play Store is that it has almost 3800 Google Play uploads every day that solidifies just how famous and dominant this app store really is. Uploading an app is one thing but you also have to make sure to constantly update the application so it can reach more people and gain popularity.
Here we have discussed the entire process of uploading an app to the Google Play Store in detail. You will learn how to create a Google Play Account and from there on the steps will continue until the app is published to google play. You can follow the process easily and upload your own application to the store. Let’s take a look!
For apps, if you’re looking to publish on Google Play Store, there are certain steps that you must follow in order to get the job done. It is not a difficult process; however, it can be a bit complicated for beginners. For your ease, we have compiled the steps in chronological order; make sure to follow these down to a T.
Let’s get started.
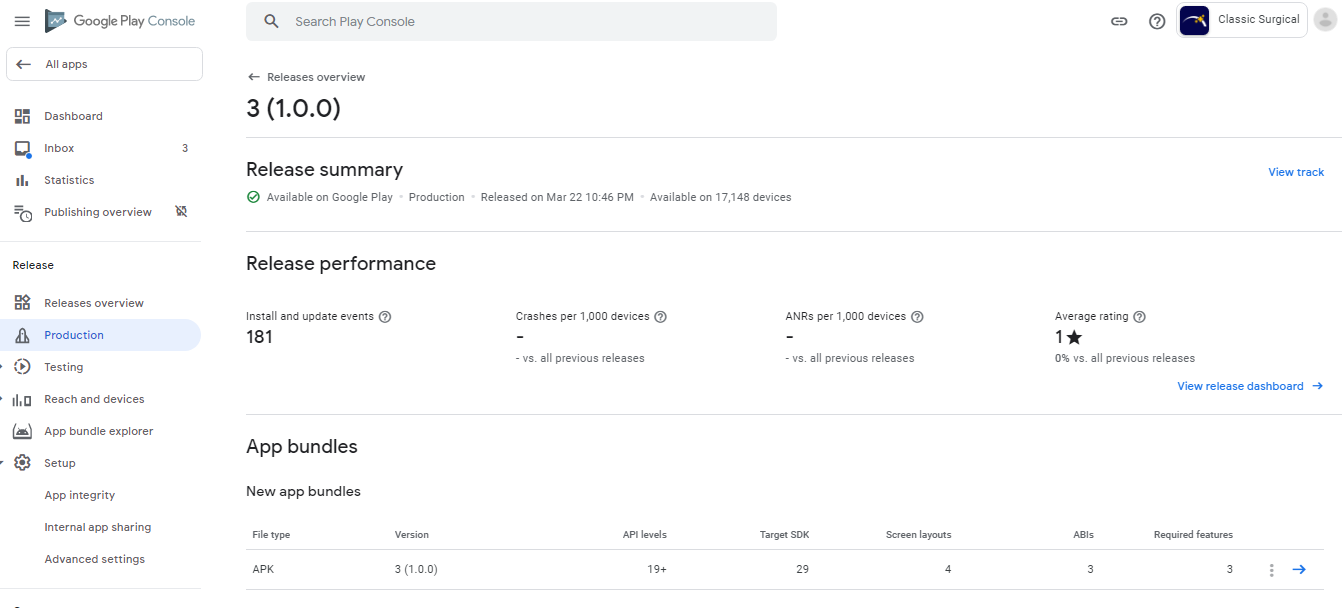
.png)
The first step to getting your app published to Google Play is creating a developer’s console account. Google Play Console acts like a backend powerhouse that controls apps and this is where you submit the applications for Android.
You need to fill out basic details about yourself, your email ID, address and choose whether to create an individual or business account. Once you’re done with the details click continue. You have to pay $25 which is a one-time fee and it will allow you to enter the dashboard where you can upload apps freely.
Keep in mind that your identity will be verified through documents and the approval of your profile depends on this. If you are unable to verify yourself through the required documents, your account will not be verified and you will lose a $25 fee as well. When you finish, your account will be reviewed and the approval might take up to 2 days.

Google merchant account is important for apps whether you allow in-app purchases or offer a paid app. In this step, you will link your developer account with the merchant account so you can receive payments that users make.
In order to do that:
- Open your Google Play Console account and go to ‘Reports’
- Open ‘Financial Reports’, this is where you can set up your merchant account.
- Continue filling out the required details and it’s done.
Now, your Google Play Console account and merchant account are linked together. You can easily manage and check the sales through your app.
You can enter your business details in this section then click on submit. Your developer account and merchant account will be linked together.

This brings you a step closer to your final goal – uploading an app. After opening your developer's account, you have to follow certain steps in order to create an application:
- Click on the menu.
- Go to ‘All Applications’ and click on ‘Create Application’ to select it.
- A drop-down menu will open, find the option to select a default language and set it according to your preference.
- Finally, enter the name that you have chosen for your application. Don’t worry, you will be able to change it later on as well.
- Click on “Create” to complete the process of creating your application.

When you reach this point in the process of uploading your app to the Google Play Store, you should have preparations done in advance. All the information that is ready about your app needs to be filled out in this step. Here’s an image of the information you will need to fill out during the app listing process.
You also need to decide on the keywords to use for the ‘app description’ part. Prepare good keywords after thorough research since it can help your app in being more visible on the search results. All information you took before this step will be useful here. App listing will create an app persona that can help users decide whether they want to download your app or not. Here’s a list of all things you should include in this part:
- App title (50 characters limit)
- Short description (80 characters)
- Full description (4000 characters)
- Add all screenshots, videos, and other graphic contents
- App translation in other languages (if you want your application translated in another language)
- Contact information (includes email address, website, and phone number)
- Privacy Policy (here you can mention whether the users’ data will be collected by the app or not)
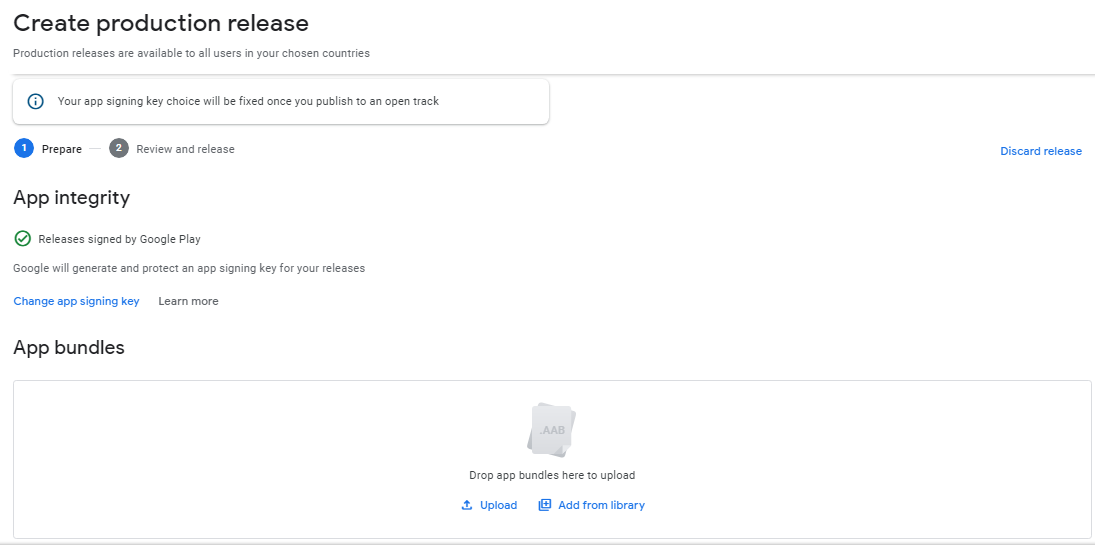
In this step, you will be asked to upload the application kit file to your application and sign the app release as well. Here are the steps to complete this process:
- Go to ‘Release Management’ and click on ‘App Release’
- Choose the type of release (options include internal test, close test, production release, and an open test)
- After deciding on the type of release, click on ‘Create Release’
Now, a new page will open regarding the new release. Once the page opens, choose whether you want the Google Play apps store signing on the app or not. In case you choose not to opt for this, then simply select the ‘Opt-Out’ option and it’s done.
Finally, you can click on ‘Browse Files’ and follow the on-screen instructions that will guide you on how to upload app bundles. Once you finish, click on the review option to confirm the information you have used. Click ‘Save’ to continue the process.
By this step, you’re closer to the Google Play uploads option. Here, you will be asked to rate your app. You have to keep in mind that an app marked or listed as ‘Unrated’ gets removed from the store. You should not skip this step and take some time to rate your app. Here are the steps to do that:
- On the left side of your screen, find Content Rating and click ‘Continue’
- Enter your email address and click ‘Confirm’
- For your app rating, fill out the questionnaire and click on ‘Save Questionnaire’
- Once you save it, click on ‘Calculate Rating’ to find out your app rating and get it published to Google Play
- Finally, select ‘Apply’ and you’re done with this part.
In terms of distribution, you have to choose which countries will be allowed to download and use your app. Your app will not publish on Google Play for all regions – it must be specific. Think about your target users and which countries will prove to be more beneficial for your app and overall business.
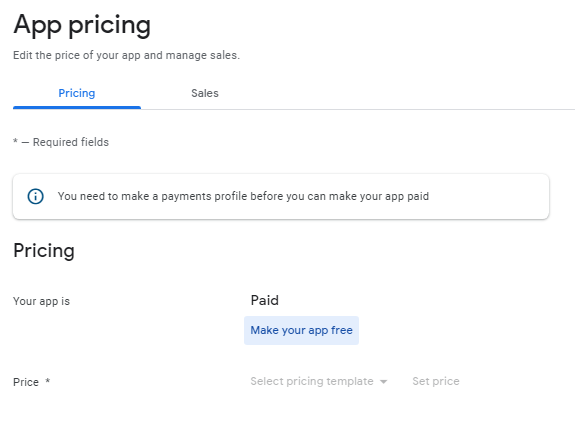
You also need to assign a price for your app. Here you can choose the pricing model – whether your app is free to purchase or a paid app. You can only decide this once so make sure you have decided after careful planning. Google will not allow you to the pricing model once you have set it up however, you can change the prices of your app. Here are the steps you need to follow:
- Find the ‘Pricing and Distribution’ tab in the menu
- Decide whether your app is going to be paid or free
- Select the countries you want your app to be available in
- Select the rating of your app, whether it is suited for children under 13 or not
- If you want to allow in-app advertisements, select the option to enable it.
Moving on to the last step of our guide.
After going through the whole process, now you can finally publish on Google Play and add it to the platform. Here are the steps you need to follow:
- Navigate back to ‘App Releases’
- Select ‘Manage Production
- Go to ‘Edit Release’
- Click ‘Review’
- You will see the ‘Start rollout to production’ option, choose it
- To finalize, select the ‘Confirm’ option and it’s finally done!
Now that you have successfully published your app on Google Play Store, the next thing to do is wait for approval which generally can take a few hours, and in some cases, it can even take a few days.
After approval of your application, the important thing to do is invest time in it to get your application ranked higher. Getting featured on the app store can increase your chances of being discovered easily by the users.
You can easily get featured if you interact with users frequently, improve services, keep your application updated with new releases and market it well. Further, you can promote your application on social media platforms which is a great way to get the word out

10, Dec 2021
Arsal is a business grad who loves everything about content marketing. He loves to write about tech, cybersecurity, business, and gaming. You can find him playing Dota2 or binge-watching Netflix. You can follow him on Twitter for the latest updates!
I had asked App Digits to create a mobile game application for iOS and Android platforms. Their team was professional throughout the entire mobile application development process.
John PeterManchester

There was one person who was the contact the whole project that made communication easy. App Digits designed and developed an application that helps organize pick-up hockey game.
John PeterManchester
Frank was fantastic to work with. He was on point with everything and helpful throughout the entire process. He worked with me going back and forth with his team fixing every little detail.
John PeterManchester
Even though I am sure mine was a relatively small job for App Digits , I felt they took their job just as seriously. Personalized attention and reliability are attributes I appreciate and App Digits did not disappoint!
John PeterManchester

Top Mobile App Development Company On Clutch

Top Mobile App Development Company On Good Firms

Top Mobile App Development Company On App Futura
© 2024 - Powered by: Aston Digital LLC | All Rights Reserved